
Software can be set up to run on a data analysis or data collecting computer. The software setup file can be downloaded from the following link: Software Setup Page. Contact your local Diagnosys Representative for the access password, or fill out the form at the bottom of this page.
Run the Setup Program:
1. Choose to Run the setup file.
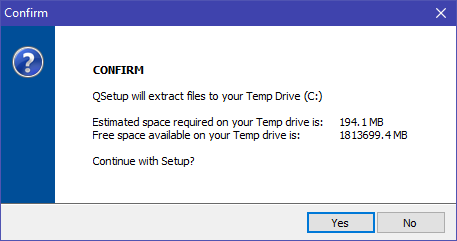
2. Allow the application to make changes to your computer. Click Yes
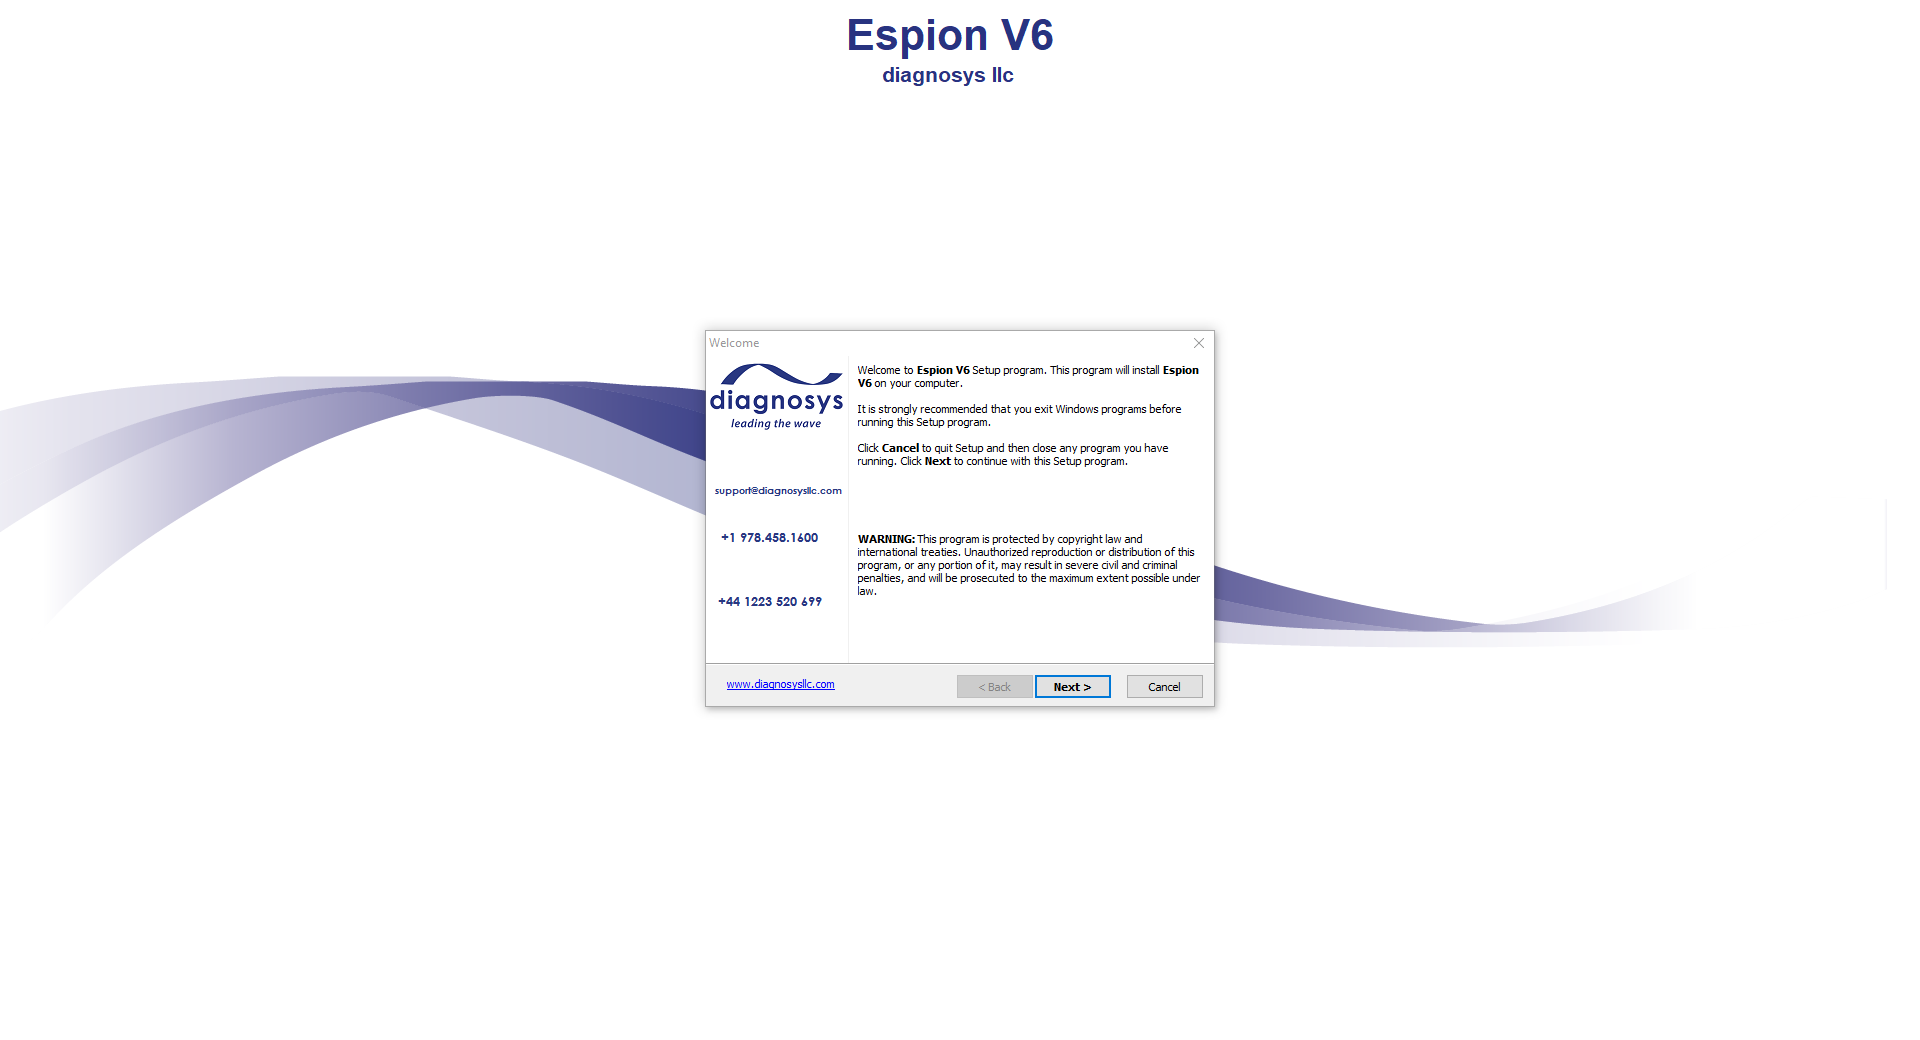
3. An installation window will cover the entire screen; proceed through all default settings by pressing Next.
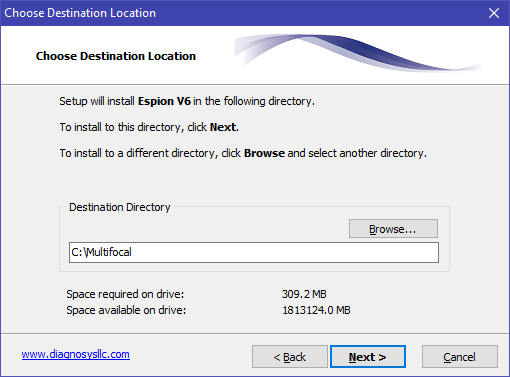
4. Agree to create a Multifocal folder on the local drive. Press Next
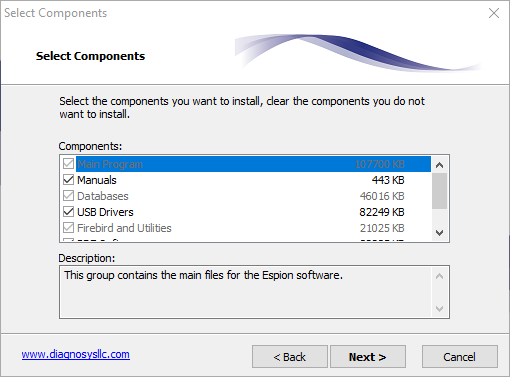
5. Make sure to keep all necessary components of the installation. Press Next
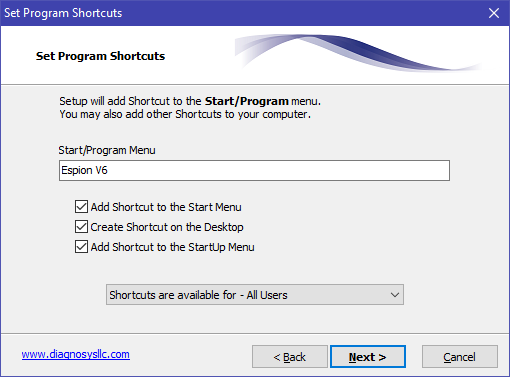
6. Select your preferred Software Access Points. Press Next
7. Continue through the remaining steps of the installation; agree to all defaults settings.
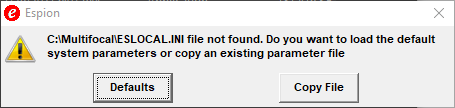
8. The final step is to select Defaults
The software should now be installed!
Configure your Software:
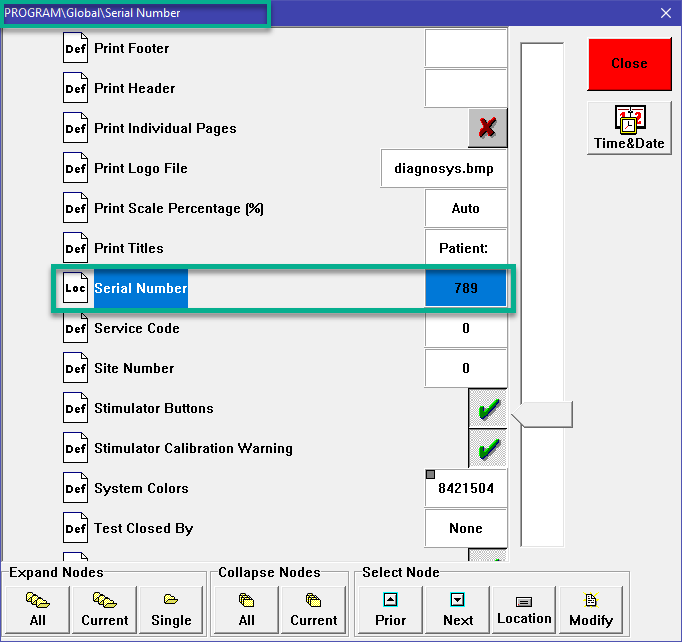
9. Add the Serial Number of your system through Configure System, Program, Global, and Serial Number. If you are unsure of your system serial number, check the label on your hardware. If that’s not accessible, then add any 3-digit number.
10. If you are working with a Celeris machine, make sure to enable the Celeris Module by going to Configure System, Stimulator, Celeris, and place a check next to Module Enabled.
If you are setting up an Analysis Computer, stop here. Your next step is to connect to the database.
If you are setting up a Data Collecting Computer:
11. Install system drivers by following steps 3 – 7 from this Drivers Article.
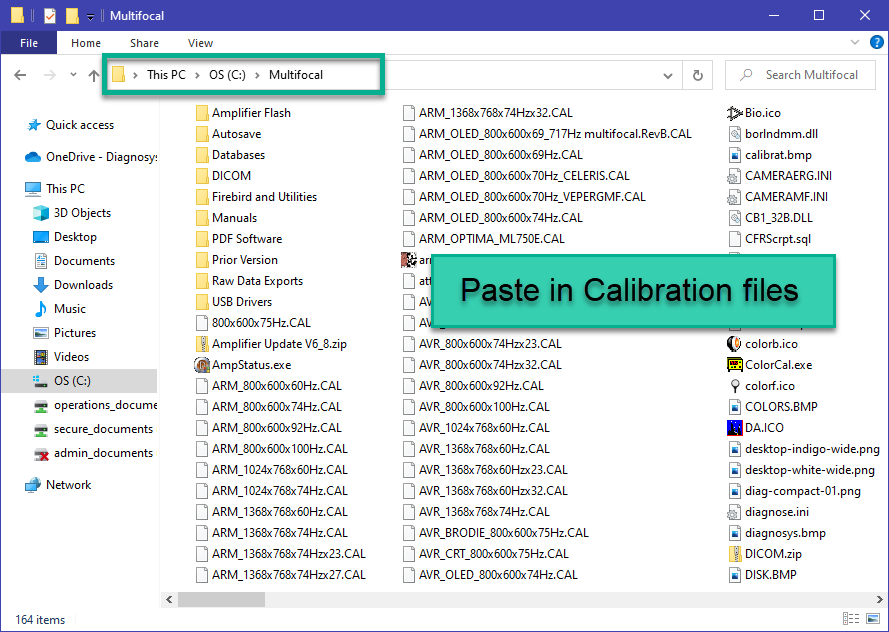
12. Paste any relevant calibration files, local configuration files (ESLOCAL.INI, ERGCamera.INI), and Database files (ESPION.FDB) into the C:/Multifocal folder. If you are unsure about this step, contact Diagnosys.
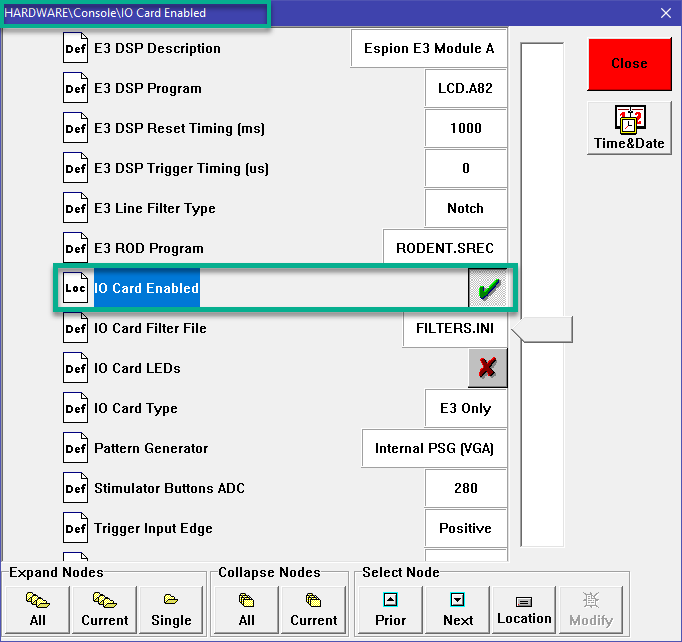
13. Enable communication between hardware and software by navigating to Configure System, Hardware, Console, and Enable IO Card.
Close and Save
Now open the software and attempt to run a test with each stimulator. If you have any trouble, please contact Support.
Comments
0 comments
Article is closed for comments.